Getting Started with Mailchimp
Sending a monthly or quarterly newsletter to your customers is a great way to promote upcoming events, showcase the services you have to offer or introduce tax and accounting related topics. Creating newsletters with engaging and relevant content can also help drive traffic to your website and improve your search engine optimization (SEO).
If you would like to send newsletters to your clients we recommend you create a Mailchimp* account so you can capture their details through the newsletter sign up form on your website. When creating your account, choose a plan that best suits your needs.
NOTE: If you use an alternate E-Marketing platform, it may still be possible to embed or link to a subscription form and/or archive newsletter list. Please contact us to discuss.
Connecting your Mailchimp account to your website
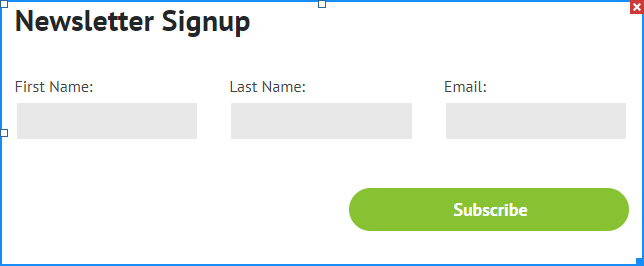
- Click on your newsletter sign up form to bring up the settings window.
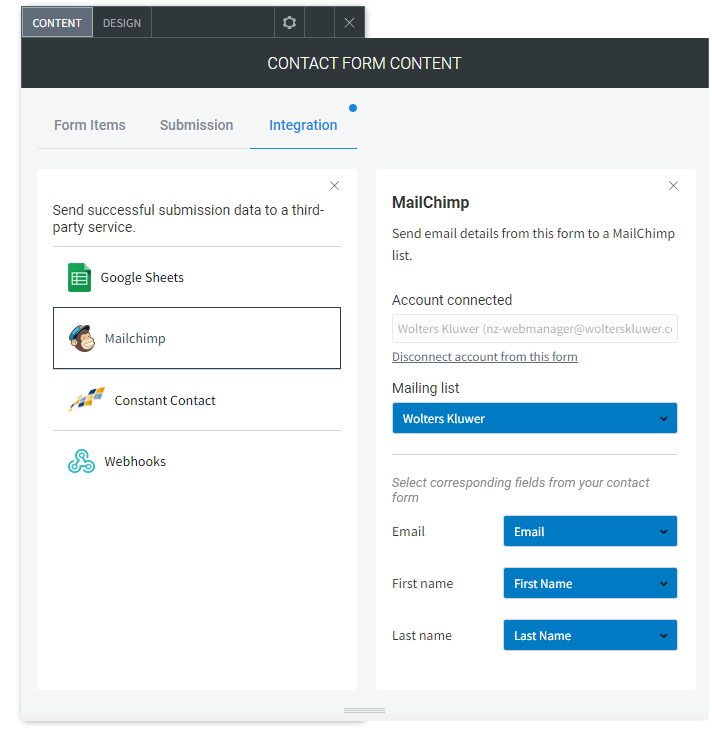
- Select the ‘Integration’ tab under ‘Contact form content’.
- Select ‘Mailchimp’ from the list of third-party services.
- Enter your Mailchimp account email address.
- Select the Mailchimp mailing list that you want to add new contacts to (you would’ve created the mailing list (Audience) when setting up your Mailchimp account).
- Link the fields in your newsletter sign up form to those in your mailing list.


Displaying your archived newsletters
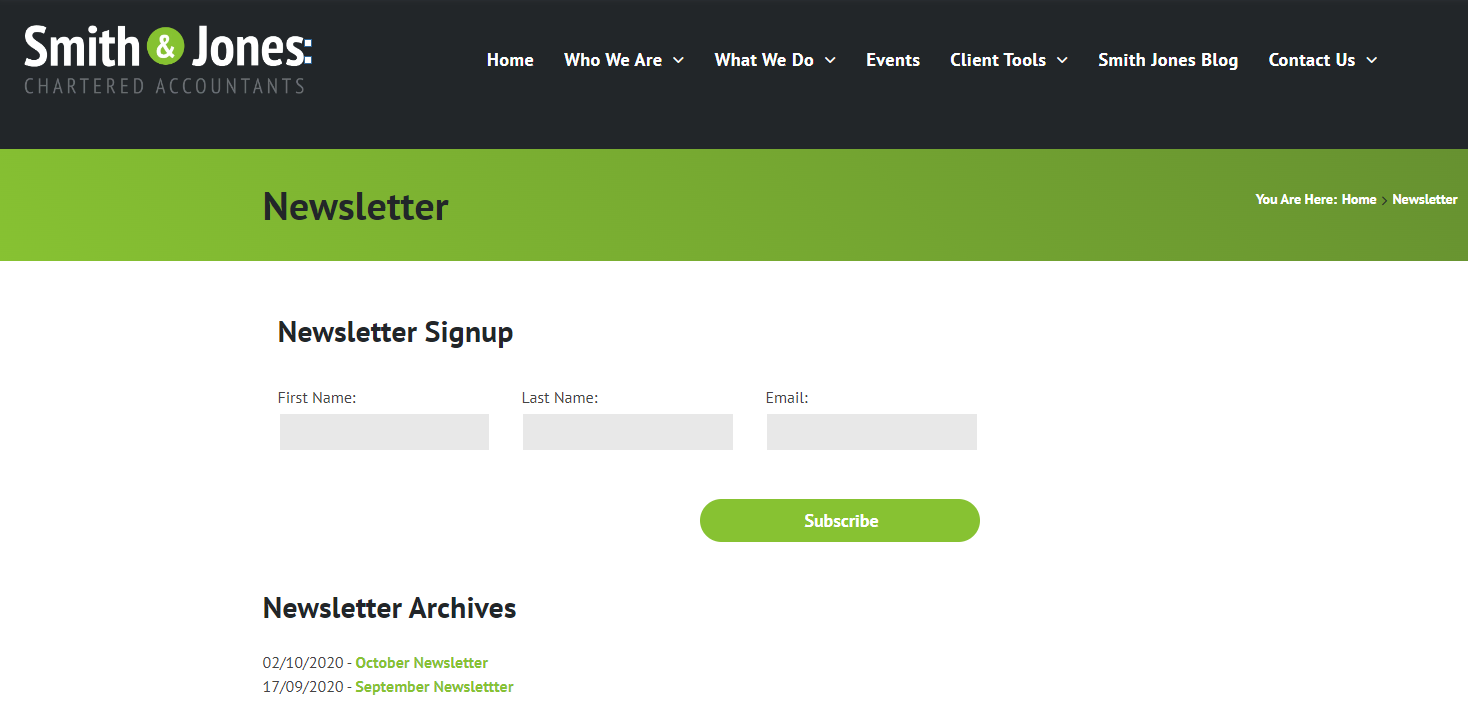
When you send a newsletter from Mailchimp, a copy of the newsletter can be saved to the ‘Newsletter Archives’ section on your website using a simple piece of code. For instructions on generating the archive code, visit this page.

