
Edit Blog Post Layout
The Edit Layouts section is where you set the structure for all of your blog posts, both current and future. In this mode, you set the layout for elements that appear in every post, such as the blog title, author, main image, and so on. These elements are connected to the content of individual posts, so all posts have a consistent structure. This is important for SEO and makes your blog easier for visitors to read.
As for the content of each post, the space designated for this in Layout mode is the content placeholder. While you cannot edit the content here, you can add elements around it. For example, you can add columns, rows and sections above, below and adjacent to the content placeholder.
Any changes you make in Layout mode are updated in all posts. For example, if you add a section under the content placeholder in Layout mode, this section appears exactly as it appears in Layout mode in every blog post.
NOTE: All of the changes you make in Layout mode affect every blog post.
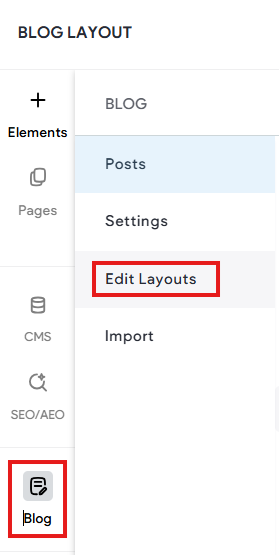
To edit your post layout, in the left panel, click Blog, and then click Edit Layout. For changes in Layout Mode to be visible online, you must republish the site.
Connected Elements
Connecting elements are what give your blog power and ease of use. These elements ensure that every blog automatically contains important details, including title, author and image, and that these details appear consistently in every post.
You’ll be asked to enter the main post details as soon as you create a new post. You can change this information later, but adding it from the start keeps your posts organised.
By default, post title, author and background image are connected. You can remove these connections or change them in Layout Mode, but we recommend keeping them to ensure your posts have all the information they need for SEO and to be found easily by users.
If you disconnect an element, you can reconnect it or connect it to a new element.
Changing Connections in Layout Mode
You can replace connected elements, or remove them altogether, in Layout Mode. To replace the connected element, click on the blue Connected Data icon to open the Connect Data popup. From here, choose the connected element you want to use for this connection and then click Done.
To remove the connection altogether, click none. This will remove this connection for all posts in the blog, and the element will no longer appear.
For more information, see Connected Data.